7 Tips for Choosing the Right Black Cable Tray
A black cable tray can bring order to crowded runs of power and data cables. It can also make an installation look cleaner against dark ceilings, steelwork, or equipment racks. The finish is only one part of the decision. Looks matter. But tray capacity, material, coating, and access can affect long-term performance.
A practical selection begins with the site conditions. Measure the route, note bends and elevation changes, and estimate the cable load with room for future additions. Then compare tray width, side-rail height, and construction material. Check how the finish is applied, especially where moisture, dust, or cleaning chemicals may be present. Small details matter. Verify the manufacturer’s load data and installation guidance rather than relying on appearance or a rough estimate.
This guide presents seven tips for choosing a black cable tray, from matching the tray to its environment to planning supports and cable access. It also considers how cable fill, bend radius, and expansion needs can influence the layout. A tray that fits today may feel cramped after a later upgrade. That is easy to overlook. No single option suits every building, so the right choice depends on the route, cable types, maintenance needs, and project requirements. Careful checks before installation can prevent avoidable changes later.
Assess Cable Route, Capacity, and Future Expansion Needs
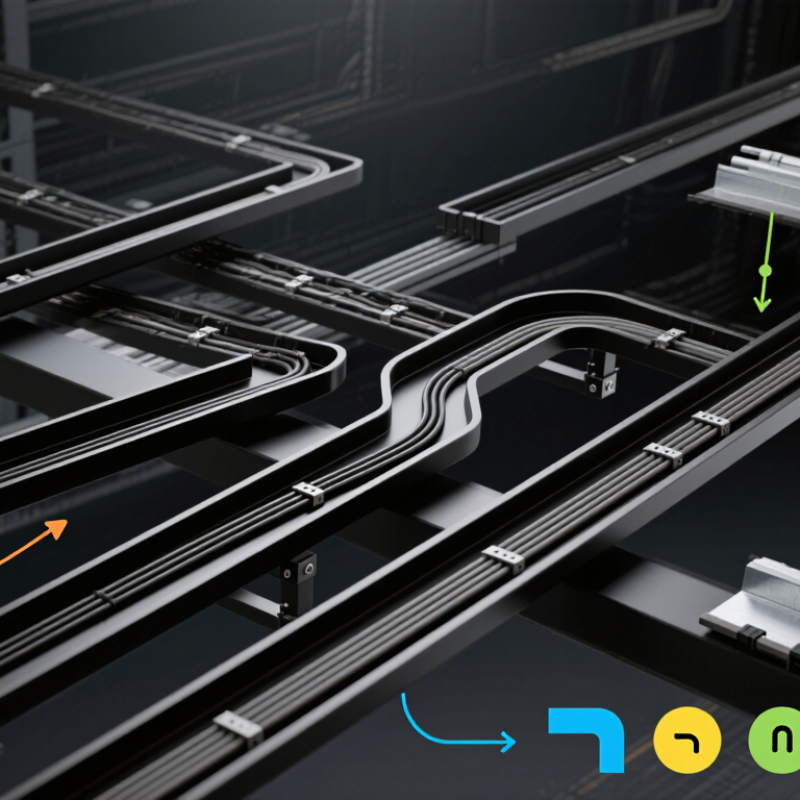
Map the route before selecting a black cable tray. Mark turns, vertical drops, crossings, and access points on a site plan, then verify them in the field. A beam or pipe can force a route change. Small details matter. Cisco’s 2018–2023 Annual Internet Report projected global IP traffic would reach 396 exabytes per month in 2022, up from 122 exabytes in 2017. It is a forecast, not a tray-sizing rule, but it shows why network growth deserves attention.
Tip: Trace the actual cable path, including bend radius and space needed for installation and maintenance. Avoid routes that block doors, equipment access, or future service work. The neatest drawing may not match the ceiling.
Tip: Calculate capacity using the cables’ outside diameters, expected additions, and applicable fill guidance. Also check cable weight, support spacing, and the tray maker’s load tables. Tip: Reserve a practical expansion allowance and confirm that spare capacity continues through bends and drops—not just straight sections. The first estimate is rarely perfect; note its assumptions and revisit them when the cable schedule changes. A little empty space now can prevent a crowded tray later.
Choose a Tray Type and Size for the Cable Load
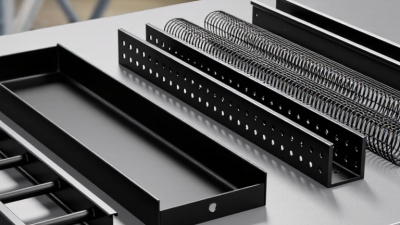
Tip: Choose the tray style for the cable bundle and installation environment. Ladder trays suit heavier runs and allow airflow; solid-bottom trays offer more support for small cables. Ventilated trays provide a useful middle ground. Check that the black finish is suitable for the location, but do not treat it as a measure of strength. Finish and load capacity are separate considerations.
Tip: Size the tray using the cables’ combined weight, not just their outside diameter. Include connectors, future additions, and any heavier cable sections. Then check the tray’s published load table for the planned support spacing. A tray rated for a short span may not carry the same load across a wider one. Keep cable fill manageable. Crowded cables can make inspection and heat control harder.
Tip: Consider how the cables will sit in the tray. A neat drawing can hide a concentrated load near a bend or support. That detail is easy to overlook. Allow room for bends and maintenance access, and compare your estimate with the actual cable schedule before ordering. Early load figures are often imperfect; revise them when better measurements become available.
Match the Black Finish and Material to the Environment
Black cable tray selection starts with the environment, not the color chip. In dry, conditioned interiors, powder-coated steel can provide a neat finish and practical protection. Outdoor runs face rain, sunlight, and temperature swings. Humid rooms or coastal sites add corrosion risks. A black surface may also grow hotter in direct sun, so check cable temperature limits and the tray manufacturer’s ratings.
NACE International’s 2016 IMPACT study estimated corrosion costs at US$2.5 trillion annually, about 3.4% of global GDP. That figure covers many industries, not cable trays alone, but it shows why exposure deserves attention.
Match the base metal and coating to the site: galvanized steel may suit many general installations, while stainless steel or aluminum can be appropriate in more demanding conditions. Small scratches matter. Inspect cut edges and fasteners, too; a durable coating can still be compromised at damaged spots.
Tips: For indoor spaces, compare coating durability and cleaning needs. For outdoor or chemical-exposed locations, request documented corrosion and UV performance for the complete finish system. Do not choose by black shade alone. A salt-spray result is useful, but it does not perfectly predict years of field service. Test a sample near the actual installation, if practical; even a careful specification can miss local conditions.
Check Load Ratings, Standards, and Installation Requirements
7 Tips for Choosing the Right Black Cable Tray
A black finish can blend neatly with exposed ceilings, but appearance should not drive the specification. Check the tray’s working-load rating against cable weight, future additions, and the actual distance between supports. NEMA VE 1-2017 load tables compare capacities across support spans, including 6-, 12-, and 20-foot spans; a longer span generally means less allowable load. Don’t assume two trays with similar dimensions share the same rating. I still double-check the manufacturer’s load table against the project drawings. That detail is easy to miss.
Tips: Verify cable weight; include future capacity; match load rating to support span; confirm the black coating suits the environment; check applicable standards; allow room for cable entry and bends; inspect supports and fasteners before installation.
For standards and installation, consult the applicable edition of NFPA 70, Article 392, for cable-tray fill and installation provisions, and follow the project’s local requirements. Confirm support spacing, bonding, clearances, and fastening details before crews begin. A tray loaded beyond its rating can sag, strain connections, or make later cable changes harder. Keep coating damage in mind, too: a scratched finish may need repair in corrosive or damp locations. If the cable schedule changes, recalculate the load instead of relying on the original estimate.
Confirm Accessory Compatibility and Maintenance Needs
A black cable tray works best when its fittings match the tray’s actual dimensions and profile. Compare the width, side-rail shape, hole pattern, and finish before ordering elbows, tees, reducers, covers, and splice plates. A fitting that looks close may leave a sharp lip or an uneven gap. Small gaps can collect dust and make cable access awkward. Check the supplier’s compatibility details, especially when trays and accessories come from different production runs.
Test a short section on site. It can reveal misaligned holes or covers that are difficult to remove. A small test saves rework. Also confirm that the coating and material suit the installation environment; damp areas may need different protection from clean indoor spaces. I have seen accessory checks treated as a paperwork task, though a quick physical fit often catches what a specification sheet misses.
Plan maintenance access before fixing the tray in place. Leave room to lift covers, tighten fasteners, and inspect cables without moving nearby equipment. During routine checks, look for loose joints, damaged coating, debris, and cables rubbing against edges. Confirm bonding provisions with the project requirements and qualified installer. Replaceable, readily available fittings can simplify repairs later, but mixing accessory types may complicate future maintenance. It is a detail worth revisiting before installation.
7 Tips for Choosing the Right Black Cable Tray: Accessory Compatibility & Maintenance
Use these checks when comparing trays and accessories. The bars count checklist items, not product ratings or test results: dimensions (width, depth, side-rail height, and rung spacing); material and finish (tray, fittings, and fasteners); splice fit (connector type, hole alignment, and hardware); fittings (bend, tee, and reducer alignment); covers (fit and hold-downs); bonding (continuity and compatible bonding hardware); and maintenance access (inspection clearance and access to connections). Confirm requirements with the project specification and product documentation.